



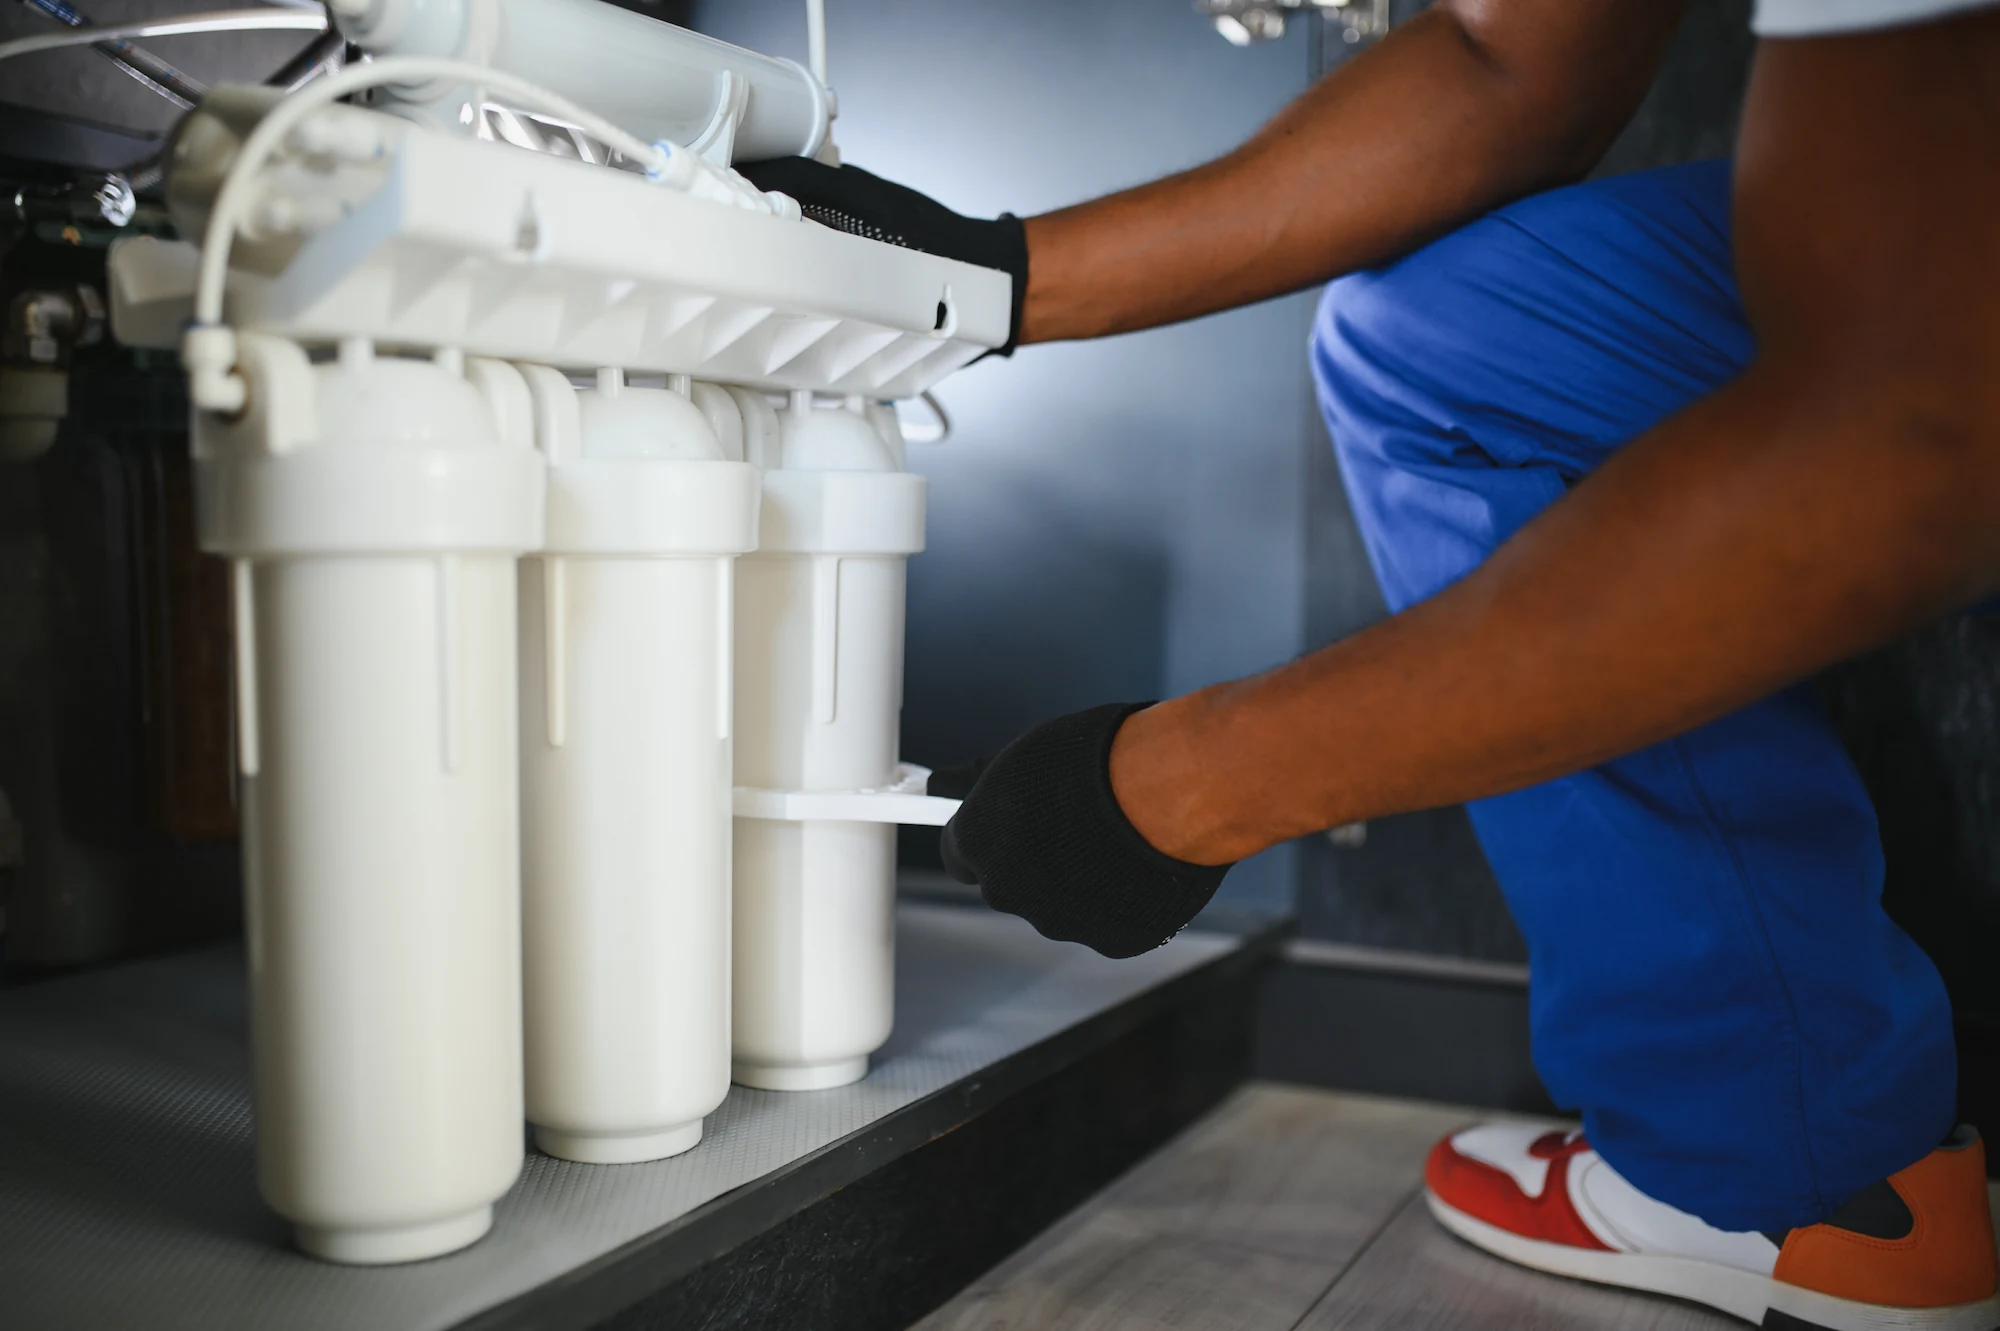
To shut down a sprinkler system for winter, you need to turn off the water supply, drain all water from the pipes, and protect above-ground components from freezing. This process includes shutting off the main water valve, draining the backflow device, blowing out the pipes with an air compressor, and insulating exposed parts. Proper winterization prevents frozen pipes, cracked components, and expensive repairs when spring arrives. Even in milder climates, taking these precautions is essential to protect your irrigation investment and ensure your system works perfectly next season.
| Winterization Step | Why It’s Important | When to Complete |
|---|---|---|
| Shut off water supply | Shut off the water supply | Prevents new water from entering the system |
| Drain all water | Prevents pipe bursting from frozen water | Same day as shutdown |
| Blow out pipes | Removes hidden water in pipes | After draining |
| Insulate components | Protects exposed parts from cold | Final step |
Why You Need to Shut Down a Sprinkler System Before Winter
Table of Contents
Water expands when it freezes. This simple fact of nature can cause big problems for your sprinkler system during winter. When water inside your irrigation pipes freezes, it expands by about 9%. This expansion creates enormous pressure that can crack pipes, damage valves, and break sprinkler heads.
Sprinkler system winterization is not just a good idea—it’s essential maintenance. Even in areas with milder winters, a single unexpected freeze can cause thousands of dollars in damage to your irrigation system.
The cost of properly shutting down a sprinkler system is minimal compared to the expense of repairing or replacing damaged components in the spring. Plus, a properly winterized system will be ready to work efficiently when warm weather returns.
When to Shut Down a Sprinkler System
Timing is important when it comes to sprinkler system winterization. You want to shut down your system before the first hard freeze, but not so early that your lawn suffers from lack of water.
Watch the Weather Forecast
The best time to shut down a sprinkler is when nighttime temperatures start consistently dropping into the mid-30s. This usually happens in late fall, but the exact timing varies depending on your location.
Don’t wait until the forecast predicts freezing temperatures. By then, it might be too late. Plan your irrigation system shutdown at least a week before you expect the first freeze.
Consider Your Grass Type
Different grass types have different water needs as they prepare for dormancy. Cool-season grasses might benefit from watering later into the fall, while warm-season grasses typically need less water as temperatures drop.
If you’re unsure about the best timing for your lawn, consult with a local lawn care professional. They can provide guidance specific to your grass type and local climate conditions.
Tools and Materials Needed
Before you begin the process to shut down a sprinkler, gather all the necessary tools and materials. Having everything ready will make the job go more smoothly.
Basic Tools
– Adjustable wrench
– Screwdriver (flathead and Phillips)
– Pliers
– Garden hose
– Towels for cleanup
For Manual Draining
– Drain valve key or compatible tool
– Bucket to catch water
For Blow-Out Method
– Air compressor (5-10 CFM capacity)
– Air compressor hose
– Compressor adapter to fit your system
For Insulation
– Insulation materials (foam covers, heat tape)
– Plastic bags
– Waterproof tape
Having these tools ready before you start will save you time and frustration during the winterization process.
Step-by-Step Guide to Shut Down a Sprinkler System
Follow these steps carefully to ensure your sprinkler system is properly protected for winter.
Step 1: Turn Off the Water Supply
The first step in sprinkler system winterization is to shut off the main water supply to your irrigation system. This valve is typically located near where the irrigation line branches off from your home’s main water supply.
Turn the valve clockwise until it’s completely closed. If your system has a backflow preventer, make sure to shut off both valves on either side of it.
Some systems have a master valve buried near the water meter. If you’re unsure where your shutoff valve is located, check your system’s manual or contact the installer.
Step 2: Turn Off the Controller
Next, you’ll need to shut down the electronic controller or timer that operates your sprinkler system. Some controllers have a “rain mode” or “off” setting that keeps your programming intact while stopping all watering.
If your controller doesn’t have these options, simply unplug it or switch it off. For advanced smart controllers, follow the manufacturer’s instructions for winter shutdown.
Don’t disconnect the power completely if your controller operates master valves or pumps that need to remain functional.
Step 3: Drain the Water
After shutting off the water supply, you need to remove all water from the pipes. There are three main methods for draining your irrigation system:
Manual Drain Method
If your system has manual drain valves, locate them at the low points of your irrigation piping. Open all these valves and allow the water to drain completely. Don’t forget to drain the water between the shutoff valve and backflow device as well.
Automatic Drain Method
Some systems have automatic drain valves that open when water pressure drops below 10 PSI. To activate these:
1. Turn off the water supply
2. Run a sprinkler zone to relieve pressure
3. The automatic drains should open and drain water from the low points
Blow-Out Method
The blow-out method is the most thorough way to remove water from your system. Here’s how to do it safely:
1. Connect an air compressor to the blow-out port or adapter
2. Set the pressure between 40-80 PSI (never exceed the PSI rating of your pipes)
3. Activate each zone one at a time through your controller
4. Blow air through each zone for 2-3 minutes or until no more water comes out
5. Move to the next zone and repeat
Safety warning: Wear eye protection during this process. Never stand over sprinkler heads while blowing out the system, as debris can cause injury.
Step 4: Drain and Protect the Backflow Preventer
The backflow preventer is particularly vulnerable to freeze damage because it’s typically installed above ground. To protect it:
1. Shut off the isolation valves on both sides
2. Open the test cocks to drain water
3. Use the blow-out method if necessary to remove all water
4. Wrap the backflow preventer with insulation or a specialized cover
Some homeowners remove the backflow device entirely and store it indoors for winter. If you choose this option, cap the open pipes to keep debris out.
Step 5: Insulate Exposed Components
Any above-ground parts of your irrigation system need protection from freezing temperatures. This includes:
– Backflow preventers
– Valves
– Pipe risers
– Main shutoff valve
Use foam insulation covers, heat tape, or pipe wrap to protect these components. Make sure the insulation is waterproof or protected from moisture with plastic bags or waterproof tape.
Step 6: Protect Sprinkler Heads
While sprinkler heads are designed to withstand some cold, they can still be damaged by severe freezing or physical impact. If you live in an area with heavy snowfall or use snow removal equipment:
1. Mark sprinkler head locations with flags or stakes
2. Consider installing sprinkler guards for heads in vulnerable locations
3. Avoid piling snow over sprinkler heads when shoveling
This will help prevent accidental damage during winter maintenance activities.
Common Mistakes When Shutting Down a Sprinkler
Avoid these common errors to ensure your sprinkler system winterization is effective:
Incomplete Drainage
The most common mistake is failing to remove all water from the system. Even small amounts of water left in pipes or components can freeze and cause damage. Be thorough with your draining process, especially in low spots where water might collect.
Using Too Much Air Pressure
When using the blow-out method, excessive air pressure can damage your system. Never exceed the maximum PSI rating of your pipes (typically 80 PSI for PVC and 50 PSI for polyethylene). Start with lower pressure and increase gradually if needed.
Forgetting the Backflow Preventer
Many homeowners focus on the underground pipes but neglect the backflow preventer. This component is often installed above ground and is highly susceptible to freeze damage. Always drain and insulate it properly.
Skipping Zones
Make sure to drain every zone in your system. Skipping even one zone can lead to damage. Work systematically through your controller, activating each zone during the drainage process.
Waiting Too Long
Procrastination is risky when it comes to freeze prevention. If you wait until after the first freeze, you might already have damage. Schedule your sprinkler system winterization well before freezing temperatures arrive.
Professional vs. DIY Sprinkler System Winterization
Should you hire a professional for the irrigation system shutdown or do it yourself? Consider these factors:
When to DIY
Doing your own sprinkler system winterization can save money and give you better knowledge of your system. DIY might be appropriate if:
– You have a simple system with a few zones
– You have access to the right tools, including an air compressor
– You’re comfortable with basic plumbing tasks
– You have time to complete the job thoroughly
When to Hire a Professional
Professional lawn sprinkler maintenance services offer expertise and convenience. Consider hiring a pro if:
– Your system is complex with many zones
– You don’t have access to the necessary equipment
– You’re unsure about any aspect of the process
– You have a high-end system with expensive components
– You want the peace of mind of a professional guarantee
Professional services typically cost between $75-$250, depending on your system size and location. Many companies offer annual maintenance contracts that include both spring startup and winter shutdown services.
Special Considerations for Different Climates
The winterization process may vary depending on your local climate conditions.
Cold Climate Regions
In areas with severe winters and deep freezes, thorough sprinkler system winterization is essential. You’ll need to:
– Use the blow-out method for complete water removal
– Provide extra insulation for above-ground components
– Consider removing and storing sensitive parts indoors
– Complete the process well before the first freeze
Moderate Climate Regions
In areas with milder winters that still experience occasional freezes:
– Manual or automatic draining might be sufficient
– Basic insulation for exposed components is still necessary
– Timing can be more flexible, but don’t wait too long
– Monitor weather forecasts carefully for unexpected cold snaps
Warm Climate Regions
Even in warm regions, unexpected freezes can occur. At minimum:
– Turn off the water supply during cold snaps
– Insulate exposed backflow preventers and valves
– Know how to quickly drain the system if a freeze is predicted
– Consider running the system briefly during extended cold periods
Remember that even a brief freeze can damage an unprepared irrigation system.
Spring Startup Preparation
How you shut down a sprinkler system affects how easily you can start it up in spring. Take these steps now to make spring activation easier:
Document Your System
Before completing your irrigation system shutdown:
– Take photos of key components
– Note any parts that might need replacement in spring
– Create a simple map of valve and head locations
– Keep manuals and system information in one place
Make Repairs Now
If you notice any issues during winterization, consider fixing them now rather than waiting until spring:
– Replace cracked heads or risers
– Fix leaky valves
– Address pressure problems
– Clear clogged nozzles
Handling these repairs during shutdown can save time and prevent water waste when you restart the system.
Plan for Spring Maintenance
Use the winter downtime to plan for spring lawn sprinkler maintenance:
– Schedule professional service in advance
– Order replacement parts you’ll need
– Research system upgrades or improvements
– Consider adding smart irrigation controls for water conservation
With proper planning, your system will be ready for efficient operation when watering season returns.
Frequently Asked Questions
How long does it take to shut down a sprinkler system?
For a typical residential system with 4-6 zones, expect to spend 1-2 hours completing the winterization process. Larger systems or those requiring extensive draining may take longer. Professional services can often complete the job more quickly due to specialized equipment and experience.
What happens if I don’t winterize my sprinkler system?
Without proper sprinkler system winterization, water left in the pipes can freeze and expand, causing pipes to crack or burst. Valves, sprinkler heads, and backflow preventers can also be damaged. Repairs can cost hundreds or even thousands of dollars, far more than the cost of winterization.
Can I just turn off the water to winterize my system?
Simply turning off the water is not sufficient for freeze prevention. Water already in the pipes will still freeze and cause damage. You must drain all water from the system and protect exposed components with insulation.
How do I know if my sprinkler system has automatic drains?
Check your system documentation or contact the installer. Automatic drain systems typically have small valves at the lowest points of each zone that open automatically when water pressure drops. You can also look for these small valves along the main lines at low points.
What PSI should I use when blowing out my sprinkler system?
For PVC pipes, use 50-80 PSI. For polyethylene pipes, use 40-50 PSI. Never exceed the maximum pressure rating of your system components. Start at a lower pressure and increase gradually if needed to clear the lines.
Do I need to winterize my sprinkler system if I live in a warm climate?
Yes, even in warm climates, unexpected freezes can occur. At a minimum, you should know how to quickly shut down and drain your system if freezing temperatures are forecast. Protecting backflow preventers and exposed components is still recommended.
Protecting Your Investment
Taking the time to properly shut down a sprinkler system before winter is an important part of protecting your landscaping investment. A well-maintained irrigation system can last for many years, but freeze damage can significantly shorten its lifespan.
Remember that thorough sprinkler system winterization includes shutting off the water supply, draining all components, and protecting exposed parts from freezing temperatures. Whether you choose to do it yourself or hire a professional, the key is to complete the process before the first freeze arrives.
By following the steps outlined in this guide, you can ensure your irrigation system remains in good condition throughout the winter months. This preparation will save you time, money, and frustration when spring arrives and it’s time to water your lawn again.
If you’re unsure about any aspect of the winterization process or need help with your plumbing systems, don’t hesitate to contact Precision Plumbing. Our experienced technicians can ensure your sprinkler system and all your home’s plumbing are properly protected from winter damage. Book an appointment today to keep your systems running smoothly all year round.